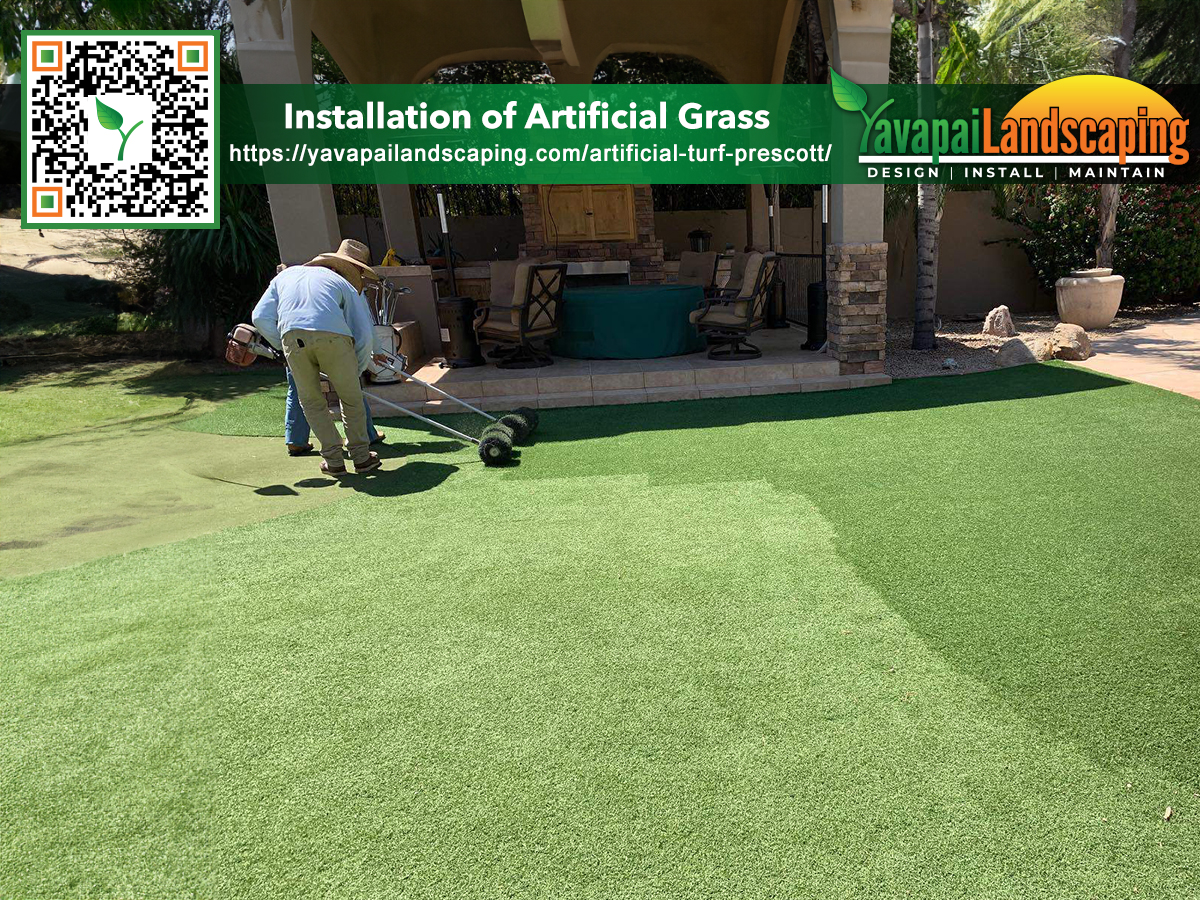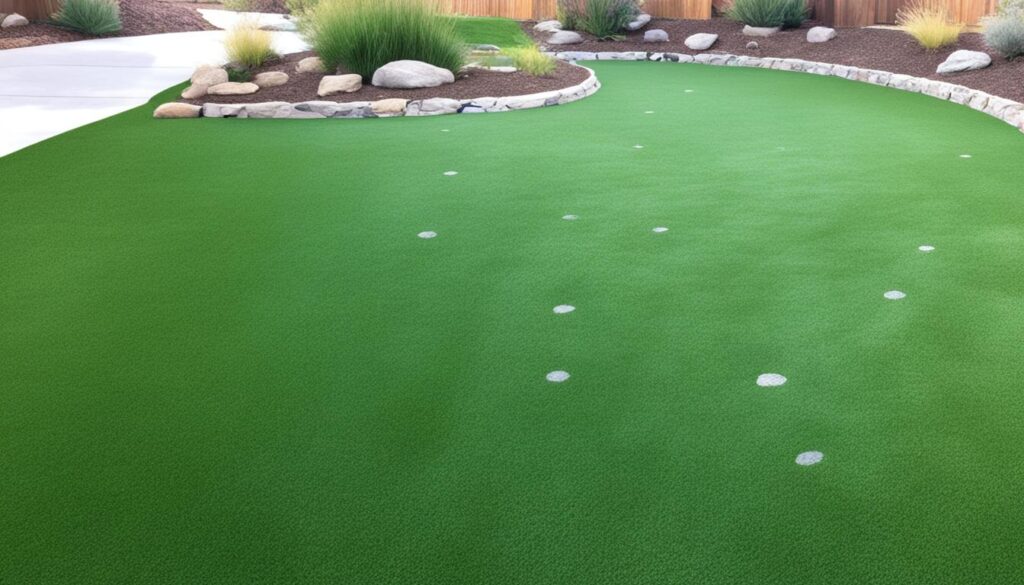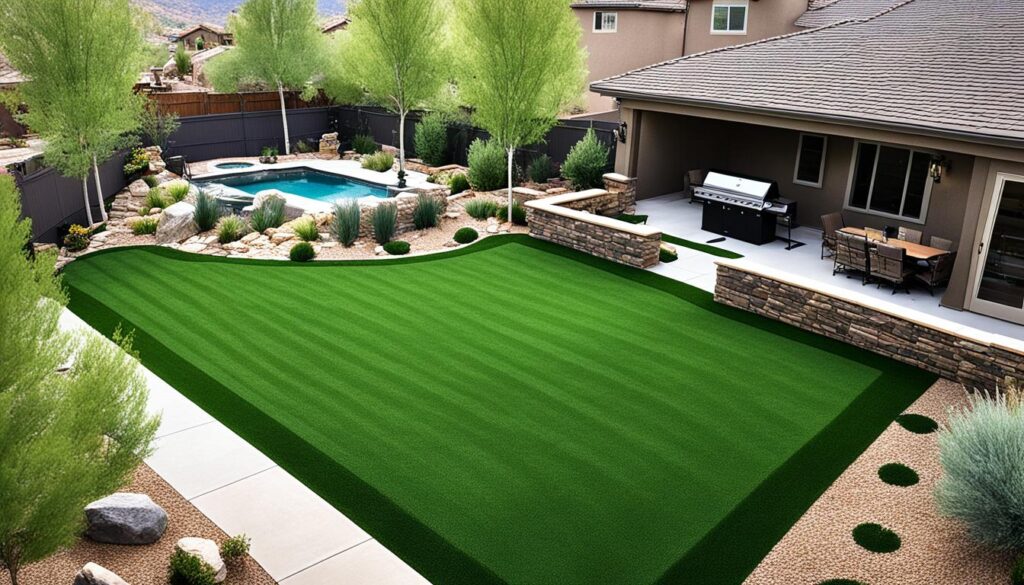
Installing synthetic turf can transform your outdoor area into a beautiful, easy-care zone. However, whether you decide to do it yourself or have the pros do it, there are unique hurdles. Things like laying the right base and putting the pieces together require focus and skill.
Both homeowners and professionals can find installing fake grass tricky. Having it professionally installed usually improves the look of your lawn. But having the right information and tools is crucial if you’re doing it yourself. It’s all about knowing and avoiding the common issues so your lawn lasts and looks good for a long time.
Key Takeaways
- Proper base preparation is crucial for longevity
- Drainage issues can affect synthetic turf performance
- Seamless joining techniques ensure a natural look
- DIY installation requires careful planning and execution
- The professional installation often addresses complex turf challenges.
- Regular maintenance prolongs artificial lawn lifespan

Understanding the Basics of Artificial Grass Installation
Making a beautiful lawn with artificial grass requires several steps. This includes picking the right kind of fake grass and the right tools. Every part is important for a nice and long-lasting lawn.
Types of Artificial Grass and Their Applications
There are many styles of synthetic grass for different needs. They include:
- Short-pile turf for putting greens
- Medium-pile grass for residential lawns
- Long-pile turf for sports fields
Essential Tools and Materials for Installation
Having the right equipment is key for a good job. Important tools are:
- Power broom for infill distribution
- Vibrating plate compactor
- Seam roller and adhesive
- Turf cutter for precise edges
Preparing the Installation Site
The first step is getting the site ready for the grass. This involves:
- Removing existing grass and vegetation
- Grading the area for proper drainage
- Installing a weed barrier fabric
- Adding and compacting a base layer of crushed stone
Knowing these basics will help you start your project. Good planning and work in these steps ensure a great artificial lawn. It will look good and last for many years. This article offers a gateway to new insights— read it.
Artificial Grass Installation Challenges
Installing artificial grass is not always easy. Many homeowners face challenges. The main issues are bumps and dips due to uneven ground. Also, poor drainage can lead to water pooling and turf damage.
Seaming problems are very common. You’ll see lines and gaps in the grass if not done right. This doesn’t look good and can make your grass less durable.
Preparation is vital to solve these issues. You must level the ground and improve drainage. Using the right adhesives for seaming helps a lot. When problems arise, tackle them one by one.
- Check the base layer for evenness.
- Test drainage before laying the turf
- Practice seaming techniques on scrap pieces
- Use proper tools for cutting and securing edges
Tackling these challenges head-on can lead to a better installation. Remember, patience and paying attention to details are key. They help you overcome common installation difficulties.
Proper Base Preparation Techniques
A strong base is essential for correctly installing artificial grass. Preparing the ground well allows your lawn to stay in good shape for a long time. Let’s review the important steps to lay the perfect foundation for your fake grass.
Soil Excavation and Leveling
First, clear the area by removing old grass and topsoil. Dig a few inches deep to make the ground even. Using tools like laser levels or string lines helps you get it right. This work is needed for good drainage and a flat surface.
Choosing the Right Sub-base Materials
Pick sub-base materials that fit your area’s soil and weather. Crushed stone or gravel are usually great choices. Put a 2-3 inch layer evenly over the ground. This layer keeps your lawn steady and helps water flow away.
Compacting and Grading for Optimal Drainage
After adding the sub-base, compact the soil with a plate compactor. Go over it a few times to make it solid. Shape the surface with a gentle slope away from your home. This way, water drains well, and your grass stays in good condition.
- Remove all debris and organic matter.
- Apply weed killer to prevent future growth
- Use a geotextile membrane to separate soil from the sub-base
Using these methods will give you a great bed for your artificial grass. Paying close attention to the base makes sure your lawn is not just pretty but also durable. This means you can enjoy it for many years.
Addressing Drainage Issues in Artificial Turf

Good water drainage is key to keeping artificial grass looking its best and working well. Without it, water can accumulate, causing moss and bad smells. Let’s look into some top ways to stop water from pooling and ensure your artificial grass drains well.
Using a special backing that lets water pass through is a big step in artificial grass setups. This approach stops water from staying on the surface. So, when picking out your artificial grass, go for types with top-notch, permeable backing.
You can boost water flow by adding more drainage systems. Some good options include:
- Perforated pipes beneath the turf
- French drains around the perimeter
- Gravel layers for enhanced water dispersion
Having the right slope and ground level is crucial. Your area should slope slightly so water moves away from buildings and towards drain spots. This little change can do a lot to prevent water from piling up.
Keep your artificial turf maintained to ensure it stays dry. Always clear away things like leaves that could block the drainage. With regular upkeep, your turf will remain beautiful and dry, how you want it.
Seamless Joining and Edging Methods
Mastering seamless joining and edging is key to a perfect artificial grass installation. These techniques ensure that your lawn looks like the real deal.
Cutting and Seaming Artificial Grass Panels
Cutting correctly is essential to joining artificial grass. Trim grass with a sharp knife, cutting from the back. When seaming, line up the grass blades. Then, use seaming tape to join them perfectly.
Securing Edges and Transitions
Securing the edges well is crucial for a neat appearance. Nail the turf’s edges down every few inches with galvanized nails. Use edge trim or gently bury the edges in a trench for transitions to hardscapes.
Dealing with Irregular Shapes and Obstacles
Special care is needed when using artificial grass in odd shapes and obstacles. Cut the grass neatly to fit around trees and curves. For complicated shapes, use smaller pieces with tight seams.
Cut holes and glue the grass down securely for things like sprinkler heads.
Get these methods down, and your artificial grass will look fantastic for many years.
Maintenance and Long-Term Care Solutions
Keeping artificial grass in top shape requires regular work. To keep it looking new, it would be best to clean it often. Brush the grass and wash it with water. For tough stains, use mild soap and warm water.
Looking after your grass for the long term means being proactive. Places where lots of people walk might need extra care. You can rake these areas to make the grass stand up straight again. Removing leaves and twigs soon after they fall is also a good idea.
To keep your turf in good condition, avoid putting heavy things on it. Always use mats under heavy furniture. This helps your grass stay vibrant and in use for many years.
Yavapai Landscaping Prescott offers free quotations for landscaping and tree services in Prescott and its nearby localities. These include tree removal, trimming, stump grinding, land clearance, storm cleaning, and emergency tree service.
