
Creating an elegant outdoor space begins from the ground up, focusing on the art of paver installation. There are many techniques and methods for installing pavers. Knowing these well is crucial for success. Whether you’re an experienced pro or a DIY enthusiast, our detailed guide will offer vital paver installation tips. These will help ensure your pathway, patio, or driveway looks just how you imagined. Are you ready to upgrade your outdoor area with finesse and precision? Let’s start the journey to create the perfect foundation.
Key Takeaways
- Understanding various techniques and methods for installing pavers ensures a successful and aesthetically pleasing project.
- Even the most challenging outdoor spaces can be transformed with the right paver installation tips.
- Proper planning and execution are crucial in paver installation for both visual appeal and durability.
- Different types of pavers and designs may require unique installation techniques.
- Achieving professional-looking results is possible with knowledge of the best practices in paver installation.
- Comprehensive preparation contributes to the longevity and stability of your paver layout.
Preparation Steps for Paver Installation
Starting a paver installation project means doing lots of groundwork. It’s very important to be thorough to ensure the pavers last a long time. Begin your DIY paver installation by looking closely at the area, preparing the ground, and picking the best materials for under the pavers.
Assessing the Installation Area
Checking the area where you’ll install pavers is crucial. You need to measure the space, see if water will run off properly, and note any existing paths or plants. This helps you know what you need to do next, like planning the layout.
Ground Leveling and Compaction
After checking the area, focus on making the ground even and compact. This step is really important for a stable base. Making sure the ground is flat and hard helps your project last and stand up to weather and time.
Choosing the Right Subbase Material
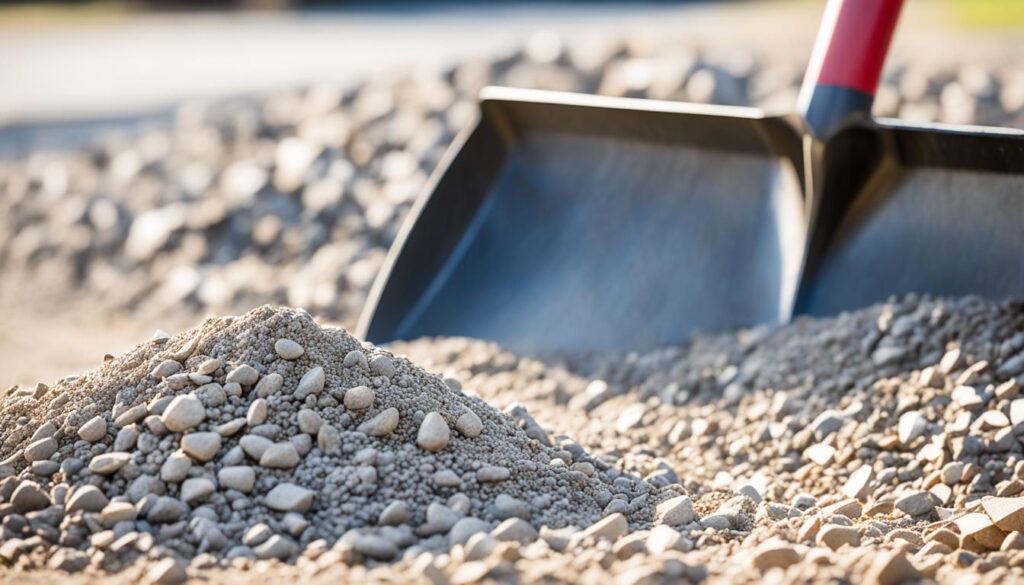
Picking the best material to put under the pavers is the next step. The right subbase material is key for strong pavers. Options like crushed stone, gravel, and specific sands give the necessary stability and drainage. This keeps pavers from moving or sinking over time.
Every step in the paver installation guide adds to making a long-lasting and attractive outdoor area. Missing a step could make the project less stable and not look as good. Being careful with steps like ground leveling and compaction, and picking the right materials, helps both DIYers and professionals succeed.
Techniques and Methods for Installing Pavers
Knowing the right techniques and methods for installing pavers is key to a beautiful, long-lasting outdoor space. A professional job uses precision, skill, and best practices for durability and function. The outcome is both attractive and sturdy.
Pros ensure proper alignment and spacing for good results. They place each paver carefully for stability and looks. They also keep the spaces between pavers uniform, affecting the pavement’s finish and strength.
- Aligning pavers to ensure even distribution of weight and symmetry
- Measuring joint widths consistently for a harmonious look
- Using specialized tools for precise cutting and fitting
Best practices also include using edge restraints. They help keep the paving intact, avoiding shifts and keeping the design correct. It’s also important to check drainage to stop water from damaging the base.
Applying a quality sealant is the last step. It protects against weather, helping pavers keep their color. This shows the dedication to quality in professional paver installation.
| Criterion | Professional Installation | DIY Installation |
|---|---|---|
| Alignment & Spacing | Precise, with consistent joints | Often uneven, with irregular gaps |
| Edge Restraints | Properly installed to secure perimeter | May be neglected or improperly used |
| Drainage | Thoroughly checked and ensured | Occasionally overlooked, risking water damage |
| Sealant Application | Evenly applied for protection | Sporadic or absent, reducing longevity |
| Tools Used | Specialized for paver installation | Limited, possibly inappropriate tools |
Using these techniques and methods for installing pavers not only beautifies your space. It also ensures a lasting surface. Professional paver installation shows commitment to quality and craft.
DIY Paver Installation Guide
Starting a DIY paver project is rewarding. You can make your outdoor space beautiful. This guide shows you every step, from laying the base to putting the pavers and sanding the joints.
Laying the Base Layer
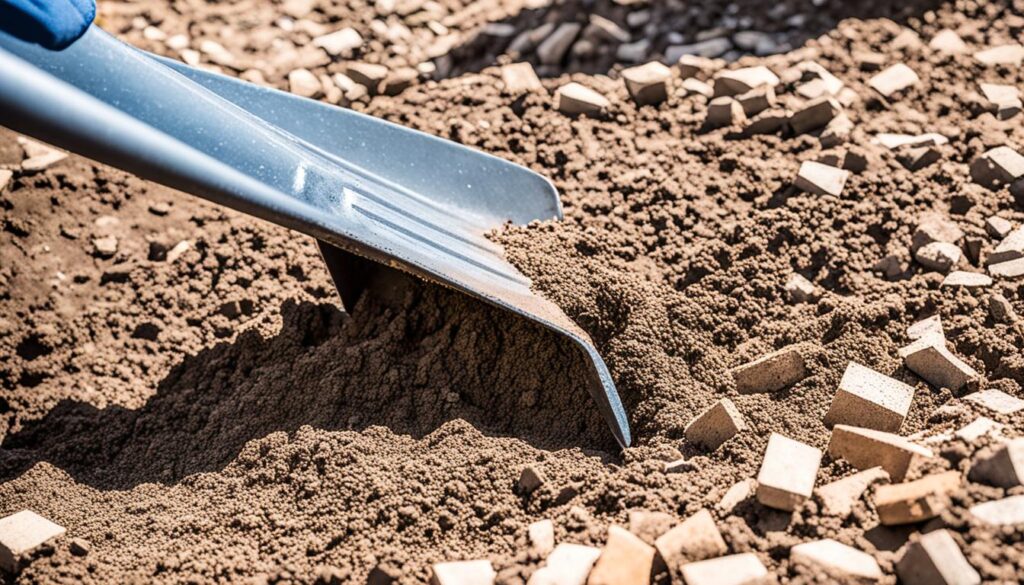
The first step is the base layer. You need to dig the area correctly according to your climate and pavers. Then, fill it with crushed stone or gravel. Compact this well to make it stable. A final sand layer gets it ready for pavers.
Setting the Pavers in Place
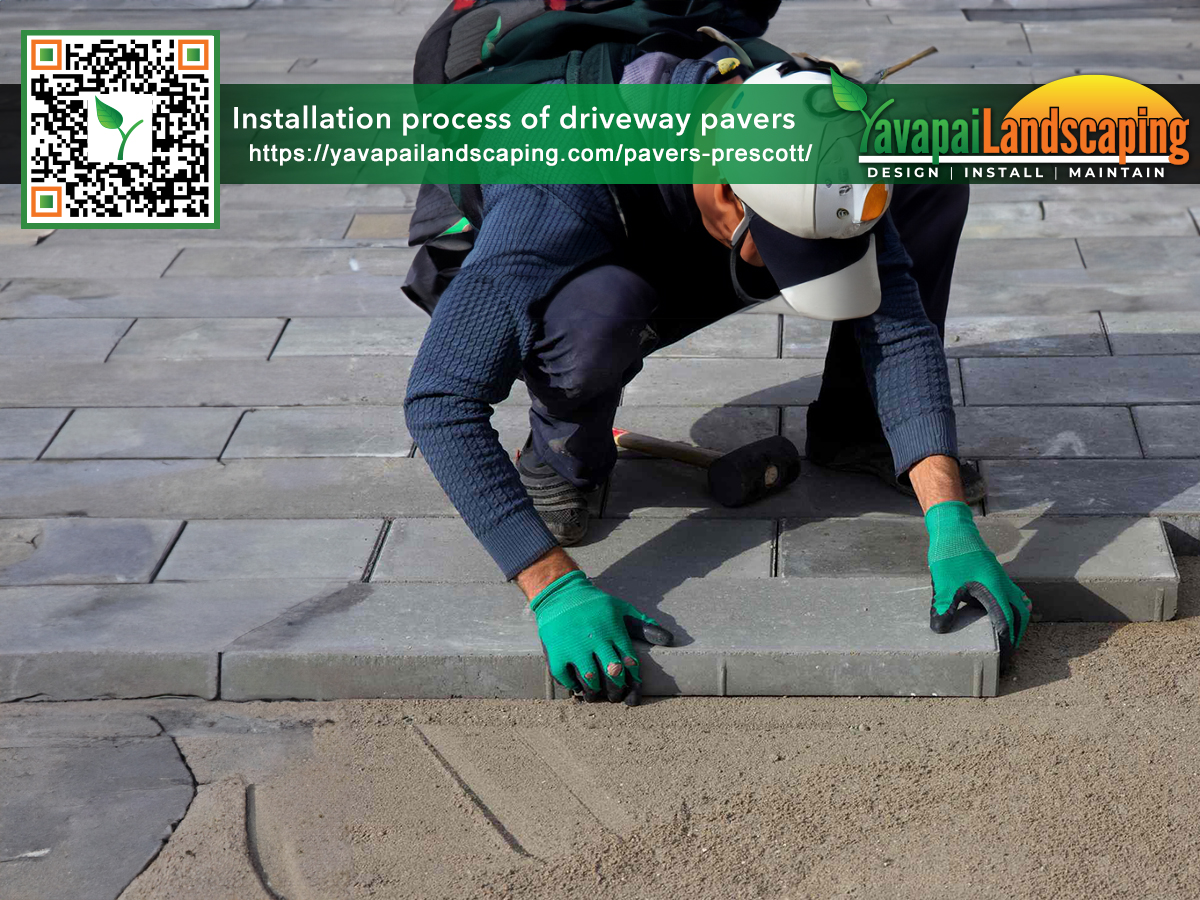
Once the base is ready, place the pavers. Start at a corner and keep them straight and level. Each paver should be equally spaced for the sand later. Use a rubber mallet to set each paver firmly.
Filling Joints with Sand
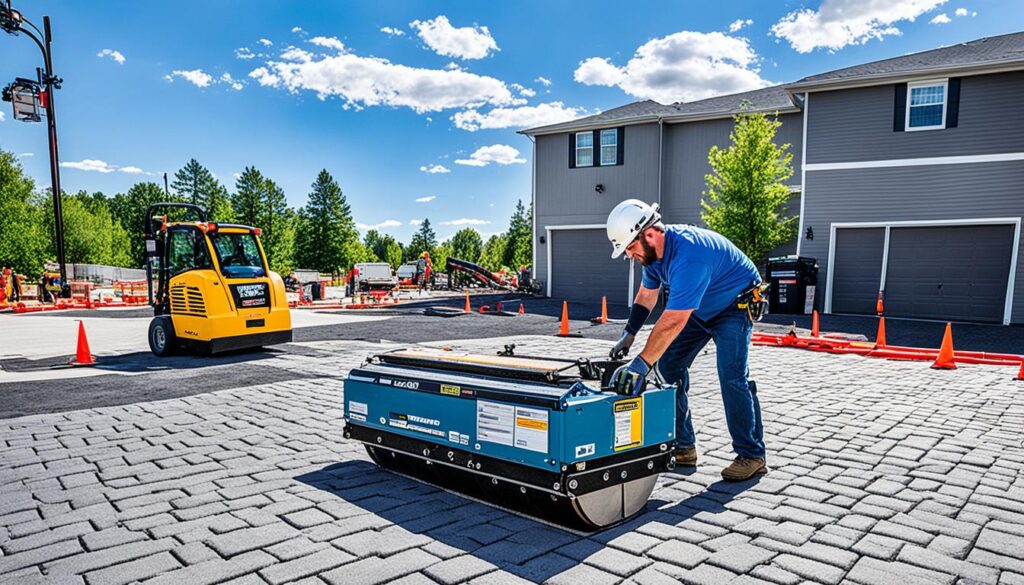
The last step is sanding the joints. It’s not just for looks; it also keeps the structure stable. Pour sand over the pavers and sweep it into the joints. Use a compactor to make sure the sand settles well. This helps keep the pavers in place and stops weeds.
By following this DIY guide, you’ll get a professional-looking paver area. Remember, a good base, precise paver placement, and sanding the joints are key. Don’t skip over this enlightening article.
Expert Paver Installation Techniques
Exploring paver installation reveals its impact on aesthetics and durability. Incorporating advanced methods for laying pavers is essential for a professional look. Specialized tools and precise methods are key, depending on the paver material used.
Professional tips for paver installation stress the importance of planning and meticulous execution. Choosing the right pattern and matching it with the surroundings is critical. The way each step is handled can greatly improve the final look.
Success in paver installation requires knowledge of paver properties and appropriate techniques. For example, heavy clay brick pavers need a different base than lighter materials. The compaction method and joint filler choice also depend on the paver type and the look you want.
| Paver Type | Base Material | Installation Technique | Joint Filler |
|---|---|---|---|
| Concrete Pavers | Crushed Stone | Interlocking with precise spacing | Polymeric Sand |
| Natural Stone Pavers | Coarse Sand | Random laying patterns for natural aesthetic | Stone Dust |
| Clay Brick Pavers | Gravel Base | Herringbone for increased interlock | Regular Sand |
Laser-guided saws and plate compactors are top tools recommended by experts. These tools ensure precise cuts and even base compaction. They make a big difference in the installation quality.
- Assessment of paver suitability based on environment and functionality.
- Customization of installation methods to accommodate specific paver materials.
- Incorporation of complex patterns to create focal points and enhance visual appeal.
Mixing artistic vision with technical skill is vital for mastering expert paver installation techniques. This approach ensures each paver is set perfectly. It’s the secret behind exceptional outdoor spaces that stand the test of time.
Top Paver Installation Methods for Different Paver Types
Choosing the right top paver installation methods can set your outdoor space apart. Different pavers, like concrete, natural stone, or clay brick, need specific approaches. For concrete pavers, laying them over a compacted bed of crushed stone and sand works best. This method ensures they are both strong and well-drained.
Natural stone pavers give off an elegant and genuine vibe.
They need careful surface prep, making sure the ground is flat. It’s also crucial to use jointing techniques that address their size and thickness differences. Sealing these pavers keeps their look safe from weather damage. The expertise in professional paver installation techniques enhances their beauty and lifespan.
Clay brick pavers offer a classic vibe to your spaces. They shine when set on compacted sand and are edged properly to avoid shifts. Although tough, clay bricks demand detailed installation efforts. The right installation methods for different paver types mean your pavers will not only lie flat and stay together but will also be simpler to look after. By honoring each paver’s needs, you’re creating lasting value.
Yavapai Landscaping Prescott offers free estimates for Prescott and nearby locations for landscaping and tree services, which include tree elimination, tree pruning, stump grinding, land clearing, storm clean-up, irrigation, and emergency tree care.